ASP.NET Core How to use Bootstrap

In this article, we will show how to work with Bootstrap framework in ASP.net CORE web Application. Bootstrap is a very powerful web CSS framework that provides with resources/library/templates to create responsive web application.
We’ll start by creating an empty template project (Without VS IDE providing us with all pre-configured folders and resources) and manually add the required resource and create a beautiful responsive login page. By doing this we will have better understanding of the working of resources and working of Responsive web using Bootstrap Framework. Let me show you the output of our work (Refer screenshot below)

Let’s get started by creating a new ASP.net core application. Launch VS 2017, select File from the top Menu and click New-> Project
Select Empty Project type from the Project Template window (Refer below screenshot). Enter the Project name, select the directory and click OK button

Once you click on OK button, below dialog box will be displayed to select the framework and version along with the type of Project to be developed
Select .Net Core & ASP.net Core 2.1 & Above and Web Application (Model-View-Controller) project type. Make sure your “Configure for HTTPS” checkbox is un-checked and click OK
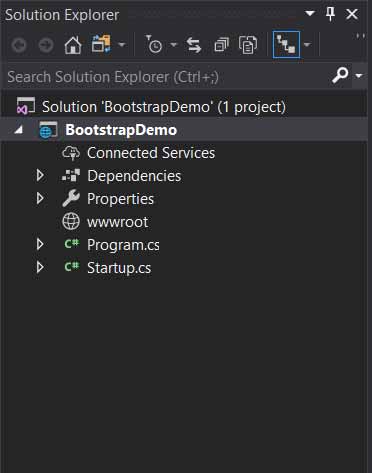
Since we had selected Project Type as “Empty”, VS did not configure and add the required MVC components and resources in the project.
Let’s start adding the required library and packages and implement the Bootstrap to create the Login page shown above.
Add Required Folders
Start by adding the required MVC and Resource folder in the project. Right click on the main Project Name and select Add-> New Folder
Add Following Folders
- Controllers
- Models
- Views
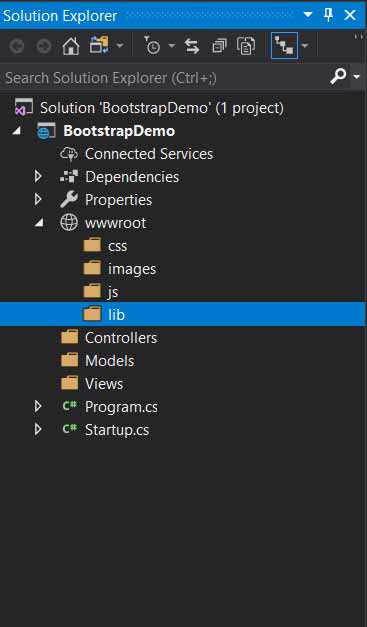
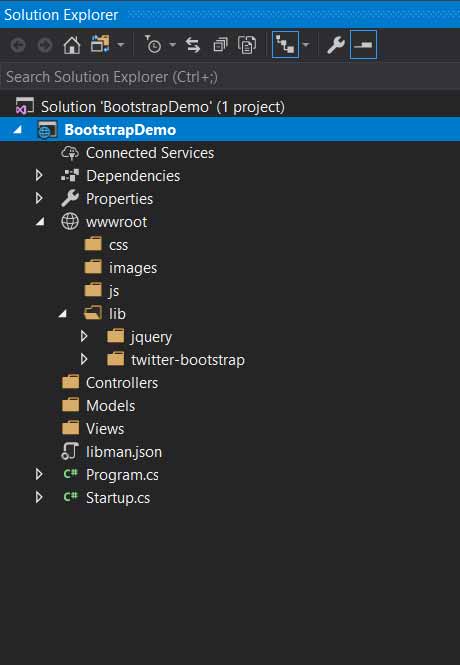
Right click on wwwroot folder (which is your static resource folder and add following new folders )
- Css
- Images
- Js
- Lib
Your project structure will now look like the one pasted below
Add Required Libraries
Right click on wwwroot folder and select Add Client Library (Refer screenshot below)
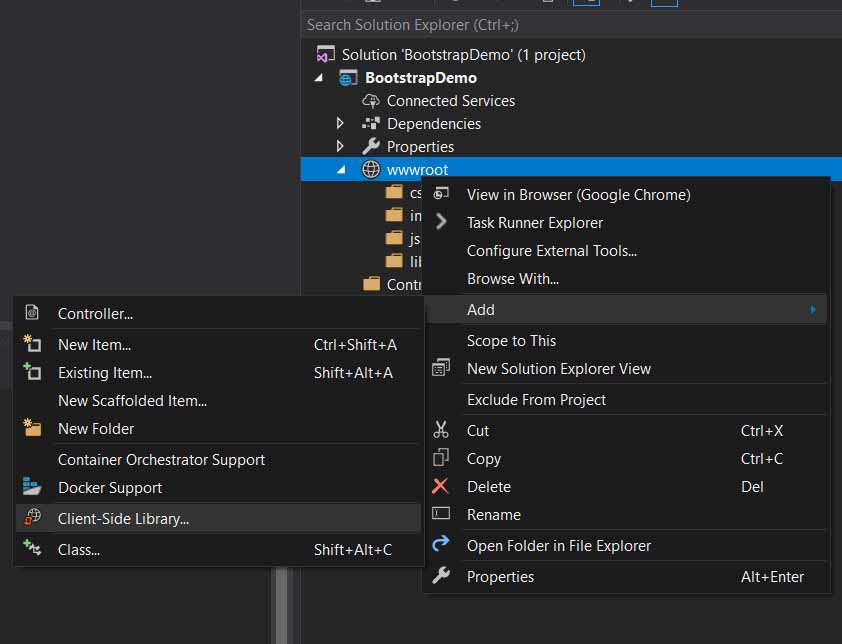
Select Client-Side Library that will prompt you to select the provider (cdnjs, filesystem, unpkg) basically the source for the libraries.

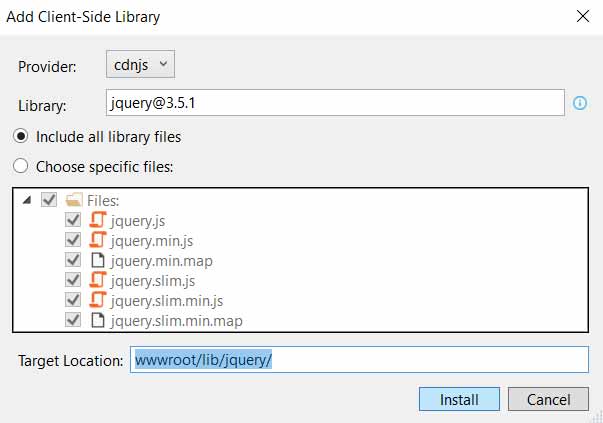
For Bootstrap implementation, we will need the jQuery and Bootstrap library to be installed from the Add Client-Side Library window
In the Library type jQuery and press enter key, automatically VS will fetch the latest jQuery library. Click install and make sure you have selected the directory for installation as wwwroot/lib/jquery/
Follow the same installation as installation Bootstrap.

The project structure should look similar to the one pasted below also notice VS has included libman.js that contents the reference of all libraries included using Add Client-Script.
Setup MVC
Let’s proceed to add the required MVC folder and required classes to design the Login page with Bootstrap.
Right click the main project name and add following folders
- Controllers
- Models
- Views
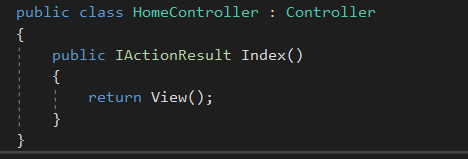
Right click on Controllers Folder and select Add-> Controller - > MVC Controller – Empty. Name the controller as “Home”. Let the below default code be as it is.
Now lets proceed to add the View , by simply right clicking on the Index() method in controller class and selecting the option “Add View”
Once you add the View, the same will appear under the Views Folder as “Index.chtml”. This file will contain the razor code that we will explore to design the Login page.
Next step is to _Layout.chtml page that will include the references of the libraries we included in our project. This page will control the UI/UX and responsiveness of the entire application.
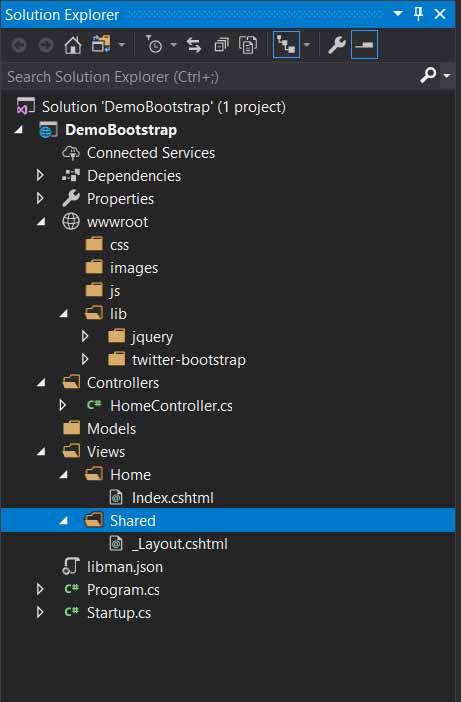
Right click on Views -> Select Add Folder and name it as Shared. Right click on Shared Folder -> New -> New Item. From the Add New Item dialog box select Web -> Razor Layout and click Add (Keep the name as default i.e. _Layout.chtml)
Your project setup should finally look as pasted below
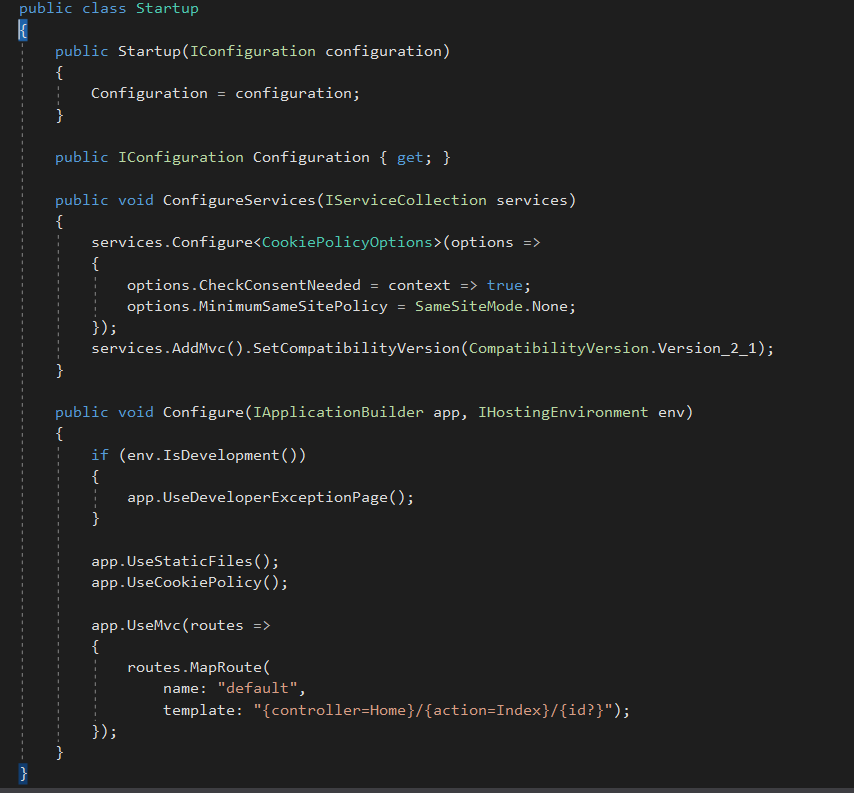
At this stage, we have included all the necessary libraries as well as MVC page/view. Now in order to display the page, we need to change the code in Startup.cs. Basically in Startup.cs, we are going to change the routing code and point to the Home controller havinv the Index Action item
Replace the below code in Startup.cs
Design View Page
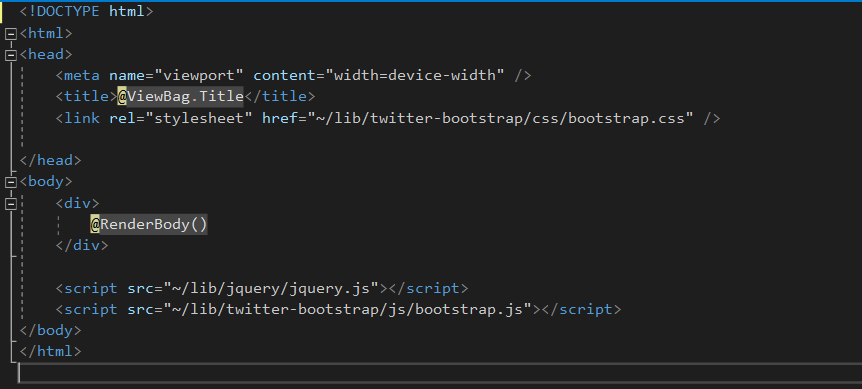
Before we setup the page design lets modify the _Layout.cshtml page to include the bootstrap and jquery libraries that we had setup and installed using Add Client-Script Library
Below is the code snippet for _Layout.chtml. We have included the jquery and boostrap libraries
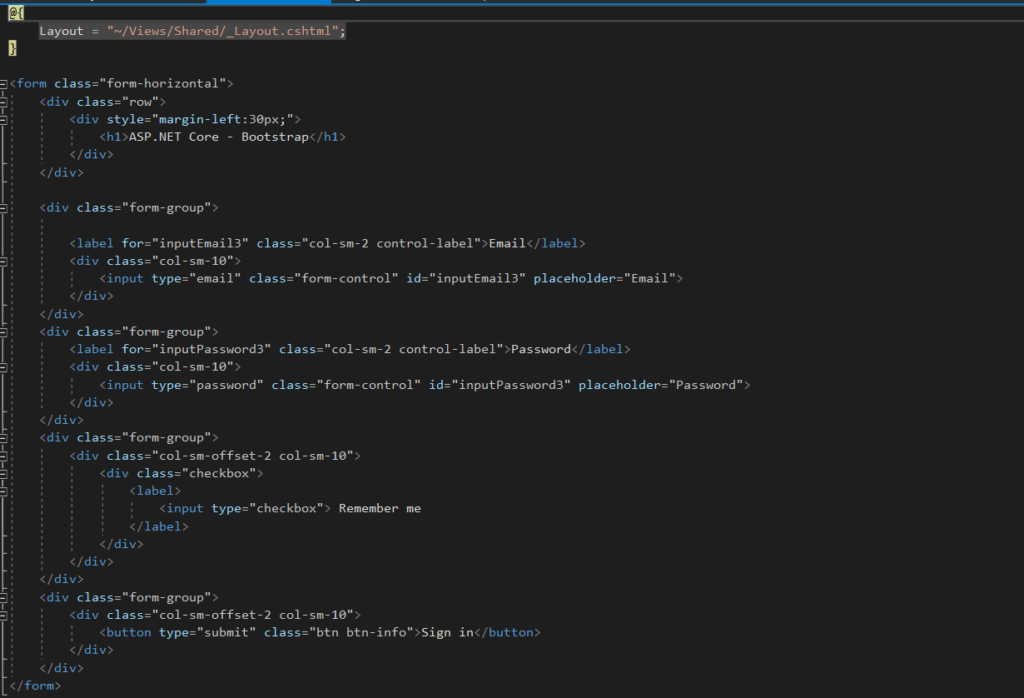
Lastly let’s add the changes required in Index.chtml View page
We had the Layout reference in Index.chtml page that has reference of the required libraries
That’s it, we have designed a responsive page by setting up the bootstrap framework and required libraries. We also covered how MVC application is setup from scratch.
This brings to the end of the Article. Stay tuned and do subscribe our newsletters for more insights on ASP.net core and other development articles
Thanks for visiting DigitalTechJoint.com !!!